The Buzz - Meli Wraps Blog
How to Properly Care for Beeswax Wraps
7 Ways to Spoil Mom on Mother’s Day
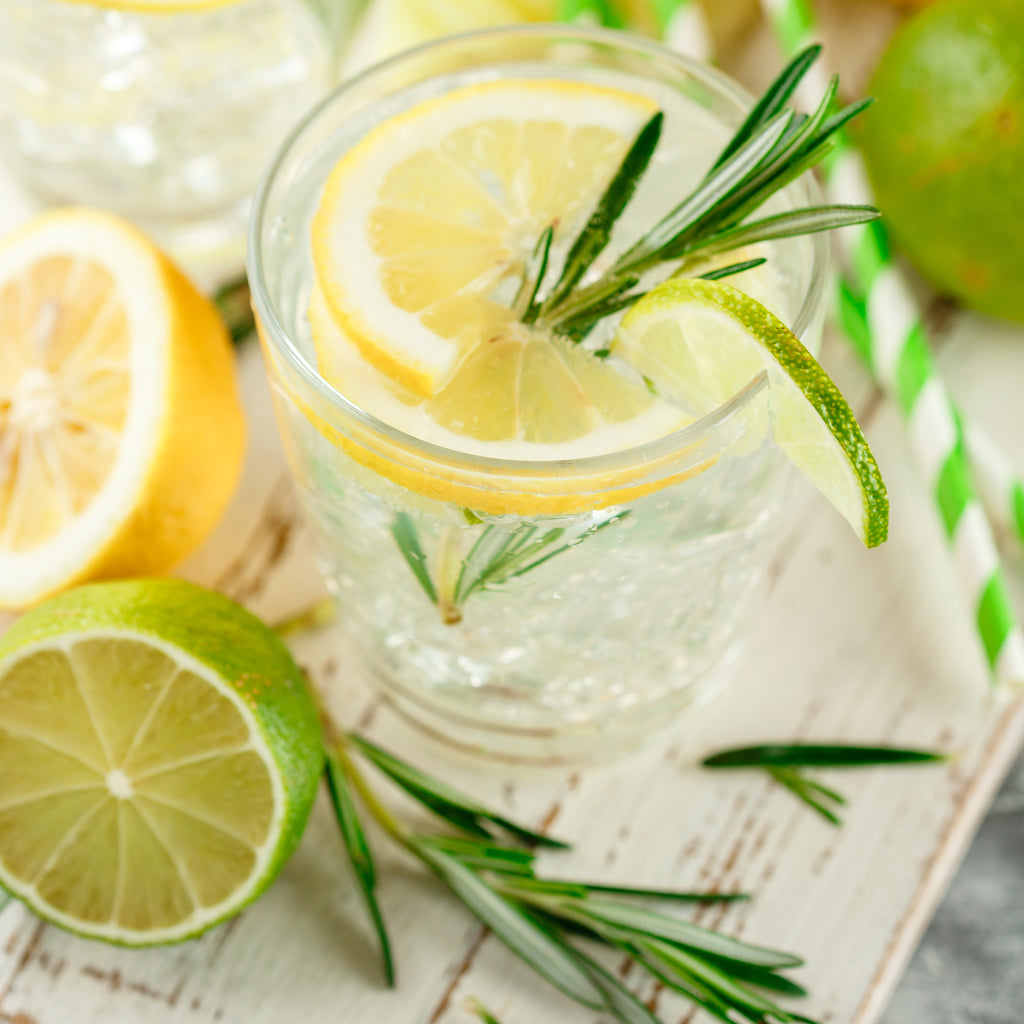
Citrus & Rosemary Spritzer (Cocktail or Mocktail)
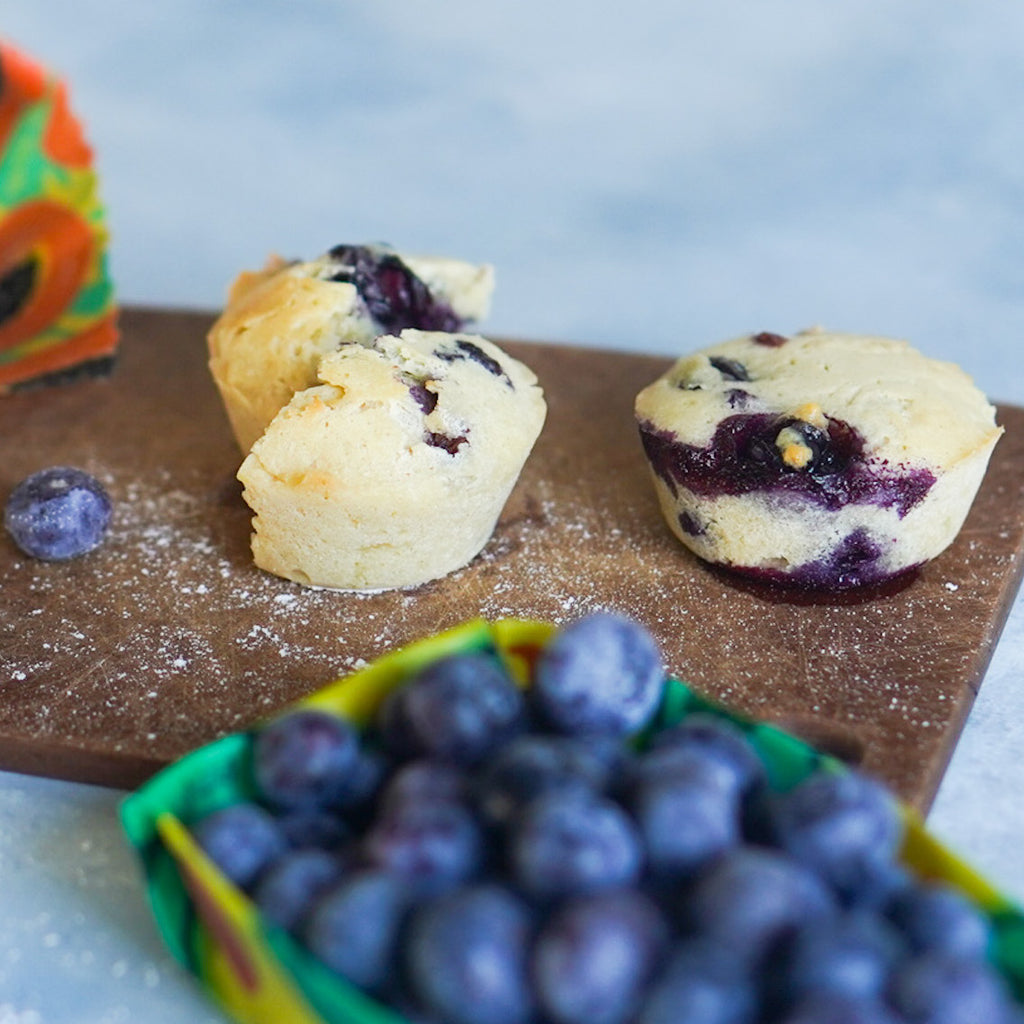
Healthy Blueberry Muffins
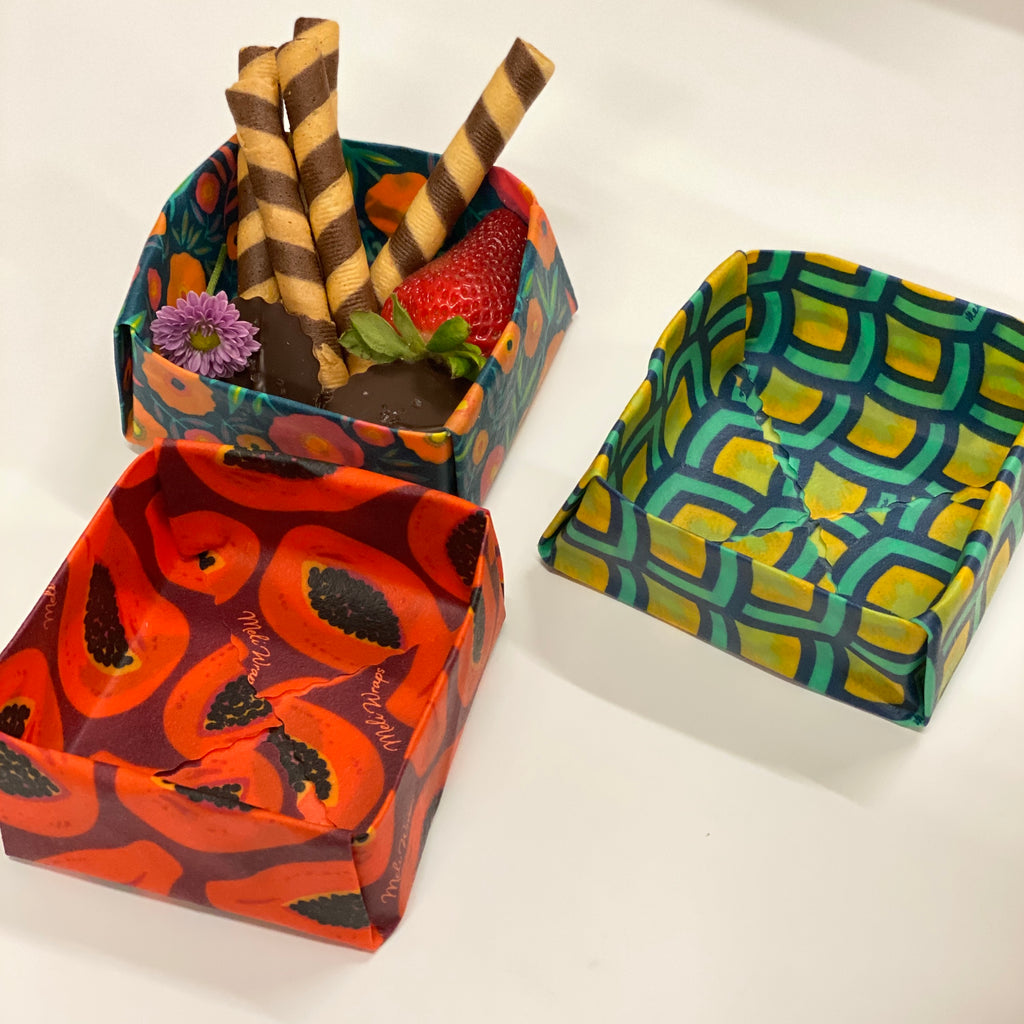
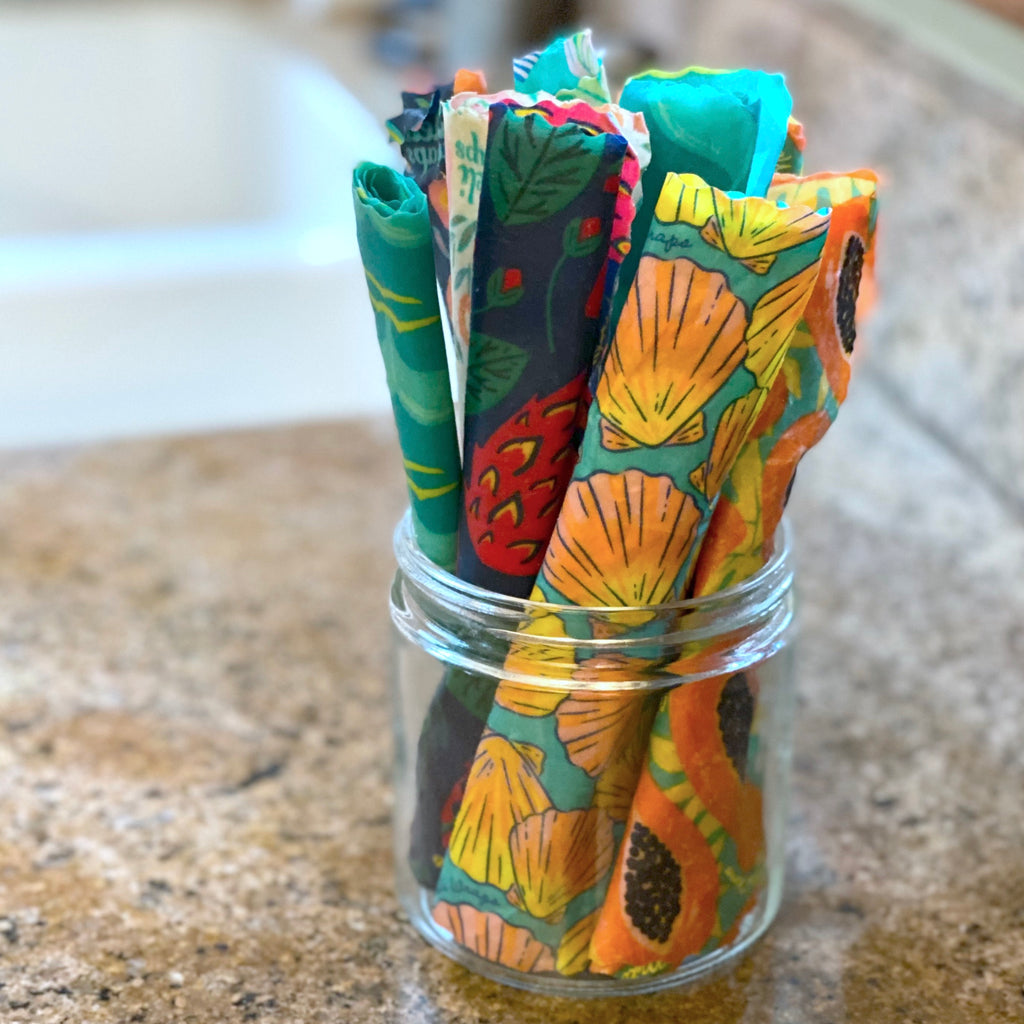
How to Make a Meli Wrap Box
Welcome to How Tos with Meli Wraps!
How to Make a Meli Wrap Box
Want a FREE medium Meli Wrap for your first Meli Wrap Box? All you have to do is spend $50 and you'll get a FREE medium Meli Wrap and FREE shipping!

Step-by-Step Instructions
1. Fold all four corners of your Meli Wrap into the center so you have a smaller square.

|

|
2. Now fold two opposite sides of the Meli Wrap in to the center. These will now be your 'sides' and the other two we'll call the 'ends'.
 |
 |
3. Unfold the two folds you just made so that you have a little square again. Then, unfold the ends of your Meli Wrap.
 |
 |
4. Now unfold the two ends. Always pay attention to the creases, the folds you're making will make it easy to make your box.
|
 |
5. Fold the two longer sides into the center. Your Meli Wrap Beeswax Wrap will be a box soon!
 |
 |
6. Now for a very fun fold. Take the ends of your beeswax wrap and fold them along the diagonal line we've illustrated.
 |
 |
7. Unfold the two ends so that your Meli Wrap looks like the picture below. Pay attention to the fold lines on the ends of your Meli Wrap. These will be the folds you use in step 6.
 |
 |
8. Now lift the two sides so that they're standing up like this:
 |
 |
9. This is the really fun fold! Using all the creases you've created fold as shown and stick the folds to the end. The end should be standing up when you're done with this step.
 |
 |
10. Fold the standing end down then into the box. This should create the third wall of your box.
 |
 |
11. Your box should have three sides now. Repeat steps 9 & 10 on the other end.
 |
 |
YOU MADE A MELI WRAP BOX!
Use your box to hold treats, snacks, or gifts. You can even make a slightly larger box to use as a lid!
 |
 |
Send us pictures of your Meli Wrap Beeswax Wraps made into boxes, envelopes, or emergency drinking cups!
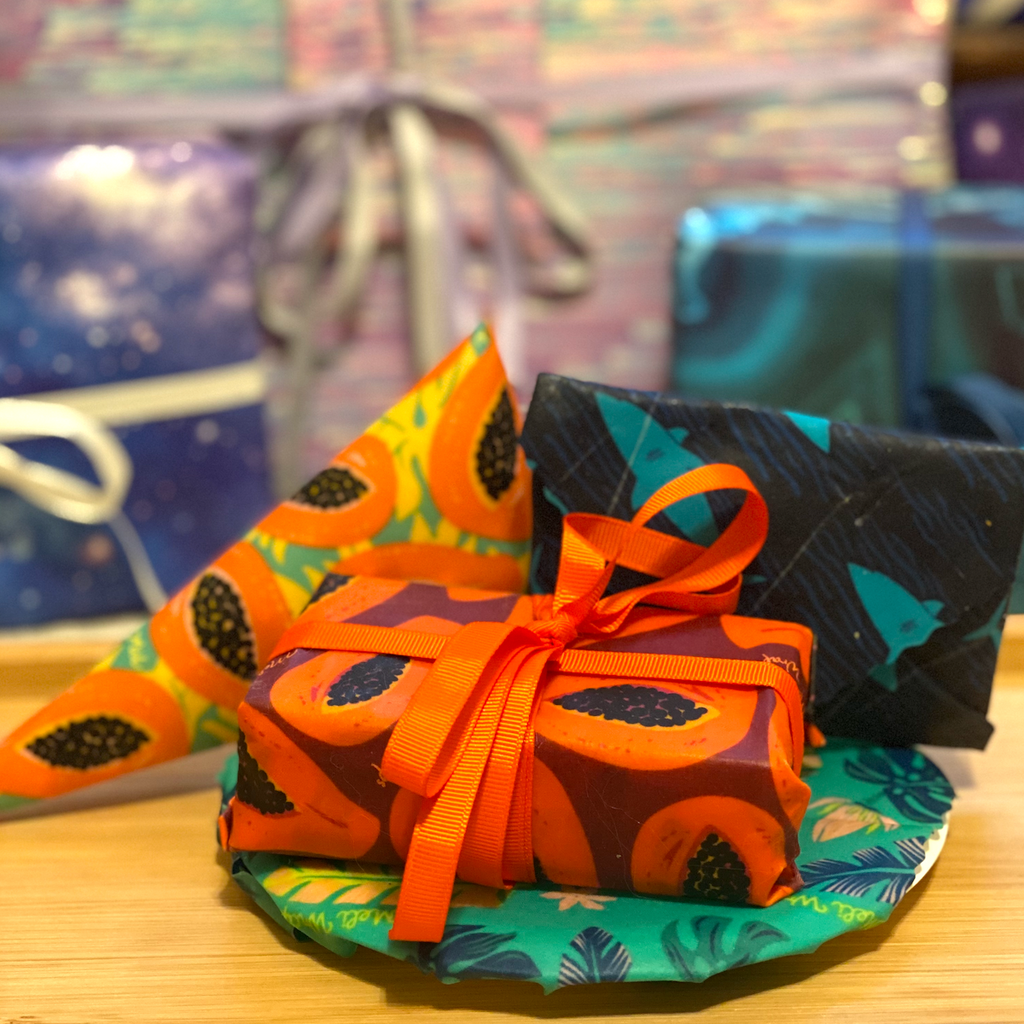
How-To Wrap Gifts and Treats with Meli Wrap Beeswax Wraps
This holiday season, upgrade your homemade holiday treats by wrapping them in Meli Wraps beeswax wraps. Not only do you give them the gift of delicious treats, you gift them a reusable beeswax wrap that can be washed and reused up to 150 times. Here's a few ways you can wrap treats up in Meli Wraps for the cutest, most colorful, eco-friendly gifts this season!

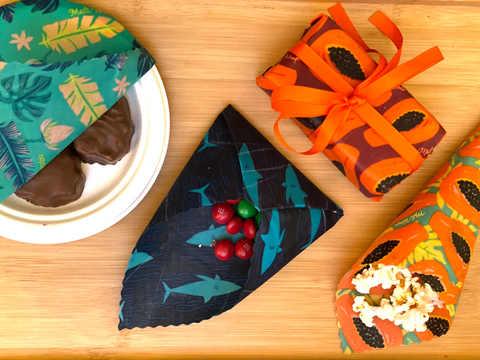
Wrap up holiday candies in little Meli Wrap envelopes for stocking stuffers. You can decorate the tree with little colorful pouches of treats, too!

Wrap brownies, cakes, and cookies in Meli Wraps just like you would a package - you can even tie a ribbon around it. This makes an adorable gift, and the food is safe inside an antibacterial beeswax wrap! Cute and healthy.

Wrap your Meli Wraps into little cones to serve individual servings of holiday popcorn treats. This style works great for toffee, small cookies, and other candies. Just fold the top down to create a sealed container for leftovers (if there are any!)

And, the simplest way to give delicious homemade treats is to simply wrap a paper plate with a Meli Wrap beeswax wrap!
How will you wrap your favorite treats this year?
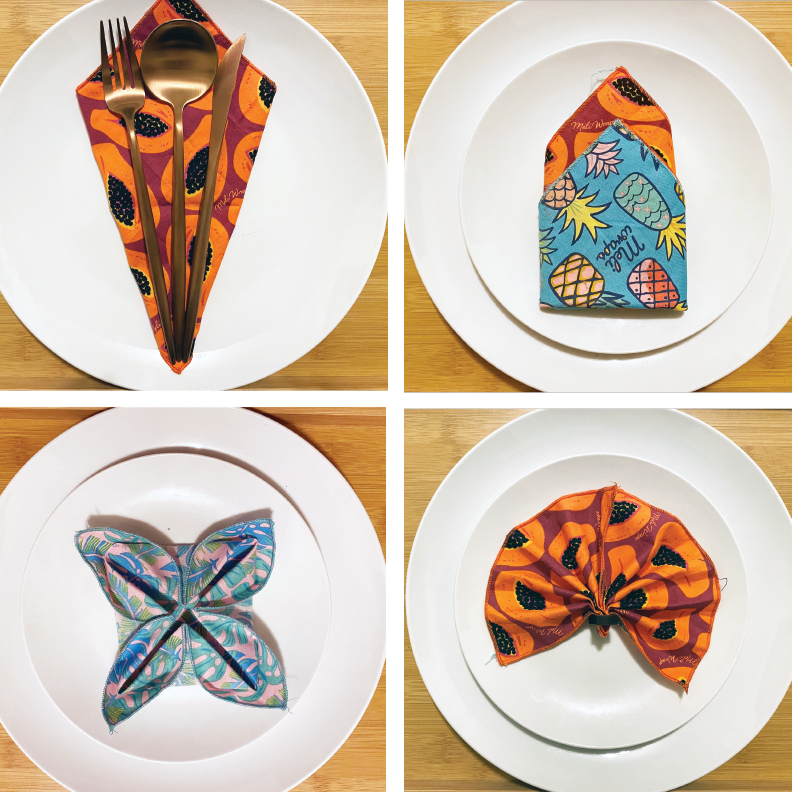
Four Hawaiian Holiday Napkin Folds
This year give your holiday dinner table a bright Hawaiian pop of color with colorful reusable napkins folded in fun ways! We're going to show you how to do these four napkin folds so you can try it yourself at home!
1. The Ti Leaf

This is a simple fold that adds a pop of color to the setting and creates a space for the silverware on the plate. A perfect choice for smaller spaces and if you need something quick and easy.
- Lay the napkin patterned side down in a diamond shape in front of you.
- Fold the sides into the center as shown on the illustration.
- Flip over! You're done!

🐝 🌺 🐝
2. The Torch Ginger

This fold can be done with a single napkin but it's most colorful and fun when doubled up as we did here. For a double napkin, just lay the second napkin on top of the first and follow all the steps. This fold can be laid flat on the plate or it can stand up for even more fun!
- Lay the napkin patterned side down in a diamond shape in front of you. If using two, lay the second one on top of the first so that both patterned sides are facing out.
- Fold the bottom quarter up as shown in the illustration.
- Fold in the two sides.
- Tuck one side into the fold of the other in the back to make it neat and easier to stand up.

🐝 🌺 🐝
3. The Orchid

This is the most complicated fold we're featuring, but the end result is so pretty! If you've got a little extra time this fold will really wow your family.
- Lay the napkin down in a square shape in front of you.
- Fold all four corners into the center as shown in the illustration.
- Flip it over.
- Fold all four corners into the center again as shown in the illustration.
- Now turn the folded napkin over while holding it in your hand with the triangle folds facing up, the square folds in the back.
- Gently pull one of the four square fold corners from the back over to the front of the napkin. You should create a rounded petal shape as shown in the photo above.
- Repeat with all four corners.

🐝 🌺 🐝
4. The Fan Palm

This fun little fold is easy enough to do, even the kids can do this one! This fold requires a napkin ring or anchor of some sort. We used a little wooden ring we had lying around but you can use a bit of ribbon, a mini clothespin, or anything your imagination comes up with!
- Fold about 1/8 of the napkin up, then back until the whole thing is a thin, long folded piece.
- Fold the entire thing in half lengthwise.
- Anchor the center and fan out!
